
How do you make a permanent mold casting?
Making a permanent mold casting involves several steps that focus on creating a durable mold that can be reused multiple times. Here’s a detailed process to create a permanent mold casting:
1. Design the Part
– CAD Modeling: Use computer-aided design (CAD) software to create a detailed model of the part to be cast. This helps in visualizing the design and planning the mold features.
2. Select Mold Material
– Choose a high-strength material for the mold, such as:
– Tool Steel: Commonly used for its durability and heat resistance.
– Aluminum Alloys: Lightweight with good thermal conductivity, often used for lower-volume production.
3. Create the Pattern
– Machining the Pattern: Create a pattern of the part from the same material that will be used for the mold or another suitable material. It should be slightly larger than the final product to account for shrinkage once the metal cools.
– Add Draft Angles: Design the pattern with draft angles to facilitate easy removal from the mold.
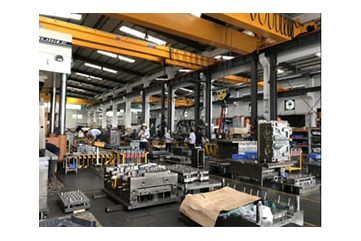
4. Construct the Permanent Mold
Step-by-Step Process:
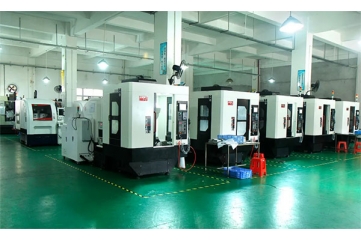
1. Machining the Mold Halves:
– Split the Mold: The mold is typically made in two halves (or more, depending on the part geometry). Use CNC machining to accurately shape both halves based on the pattern.
– Include Features: Ensure that you include necessary features like tie rods, alignment pins, and locking mechanisms to keep the mold halves aligned during casting.
2. Incorporate Gates and Vents:
– Gates: Design channels through which the molten metal will enter the mold.
– Vents: Include vents to allow gases to escape during the pouring process.
3. Surface Finish:
– Polishing: Polish the mold surfaces to reduce friction and improve the surface finish of the cast part. This also helps in easier release of the cast part.
5. Preheat the Mold (if necessary)
– Depending on the metal being cast, it may be beneficial to preheat the mold to reduce thermal shock and control the cooling rate of the molten metal.
6. Prepare for Casting
– Lubrication: Apply a release agent to the mold surfaces to facilitate easy removal of the cast part after solidification.
7. Pouring the Metal
– Melt the Metal: Heat the metal until it reaches a molten state (specific temperature will vary based on the metal type).
– Pouring: Carefully pour the molten metal into the mold through the gates, ensuring a steady flow to avoid air pockets.
8. Cooling and Solidification
– Allow the metal to cool and solidify within the mold. The cooling time will depend on the specific metal and part thickness.
9. Mold Removal
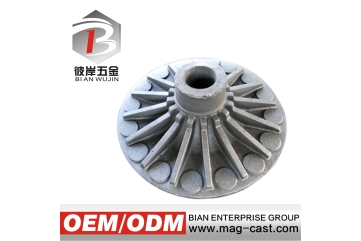
– Once the metal has solidified, open the mold and carefully remove the cast part. Inspect for any defects and ensure proper finishing.
10. Finishing the Cast Part
– Machining and Cleaning: Perform any necessary machining, trimming, or cleaning on the cast part to meet specifications.
11. Repeat the Process
– Inspect the mold for wear after each use. Permanent molds can be used repeatedly, making them cost-effective for high-volume production.
Conclusion
Permanent mold casting is a precise and efficient method for producing high-quality metal parts. Proper attention to mold design, materials, and casting techniques will ensure successful outcomes and durability of the mold throughout its lifecycle.