How are dies for die casting made?
Dies for die casting are typically made through a complex process involving several steps. Here’s an overview of how dies for die casting are generally manufactured:
1. Design Phase:
– The die is first designed using Computer-Aided Design (CAD) software.
– The design includes considerations for part geometry, gating system, cooling channels, and ejection mechanisms.
2. Material Selection:
– Dies are usually made from tool steels, such as H13 or H11, known for their durability and heat resistance.
3. Rough Machining:
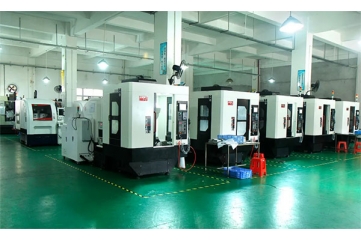
– A large block of tool steel is roughly machined to the general shape of the die using CNC milling machines.
4. Heat Treatment:
– The rough-machined die is heat treated to increase its hardness and durability.
5. Precision Machining:
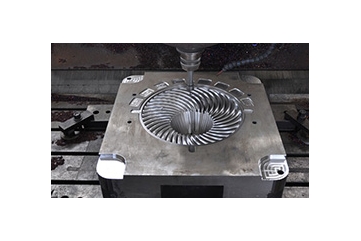
– After heat treatment, the die undergoes precision machining using CNC machines, EDM (Electrical Discharge Machining), or a combination of both.
– This step creates the exact shape and details of the part cavity.
6. Polishing:
– The die surfaces are carefully polished to achieve the desired surface finish.
7. Texturing (if required):
– Some dies may require texturing for aesthetic or functional purposes.
8. Creating Cooling Channels:
– Cooling channels are drilled or machined into the die to help control temperature during casting.
9. Assembly:
– For complex parts, the die may be made in multiple sections that are assembled together.
10. Testing and Refinement:
– The die is tested and any necessary adjustments are made.
11. Surface Treatment:
– The die may undergo surface treatments like nitriding to further enhance durability.
This process can take several weeks to months, depending on the complexity of the part and the die. Die making is a critical and expensive part of the die casting process, but a well-made die can produce hundreds of thousands of parts before needing replacement or refurbishment.


